IKEA Desk Hack | My Multi-home Office


Trying to find the perfect desk might be just as difficult as trying to find the perfect wedding dress. Now I’ve personally never gone wedding dress shopping, but I’m guessing it must be nerve-wracking. It was just so difficult to find a good home desk that I liked, served the specific purpose I needed, and was affordable. Hence, the IKEA desk hack.
I’m a renter working with a very small space for an office (which is also my bedroom), so the goal was:
to do something that would not require excessive drilling or anything “permanent”
to split my workplace into two - but adjoining - spaces for my 9-5 and my other work (this one…lol)
reduce clutter i.e. why I got the cabinets for storage
to spend wisely. I set up a $1400 plus budget - this includes the cost of monitors, speakers, keyboards, and accessories. I barely hit $900, so I am incredibly proud of myself.
I ended up deciding to “build” my desks with separate furniture pieces - some of which are not particularly made for office spaces e.g. I got the cabinets from the kitchen section. This ended up being the best decision.
Here’s how it went:
The Materials
1 x Lagkapten tabletop (55 1/8” x 23 5/8”) - 404.608.15
1 x Lagkapten tabletop (47 1/4” x 23 5/8”) - 104.606.66
2 x Sektion base cabinet (12” x 24” x 30”) - 393.694.31
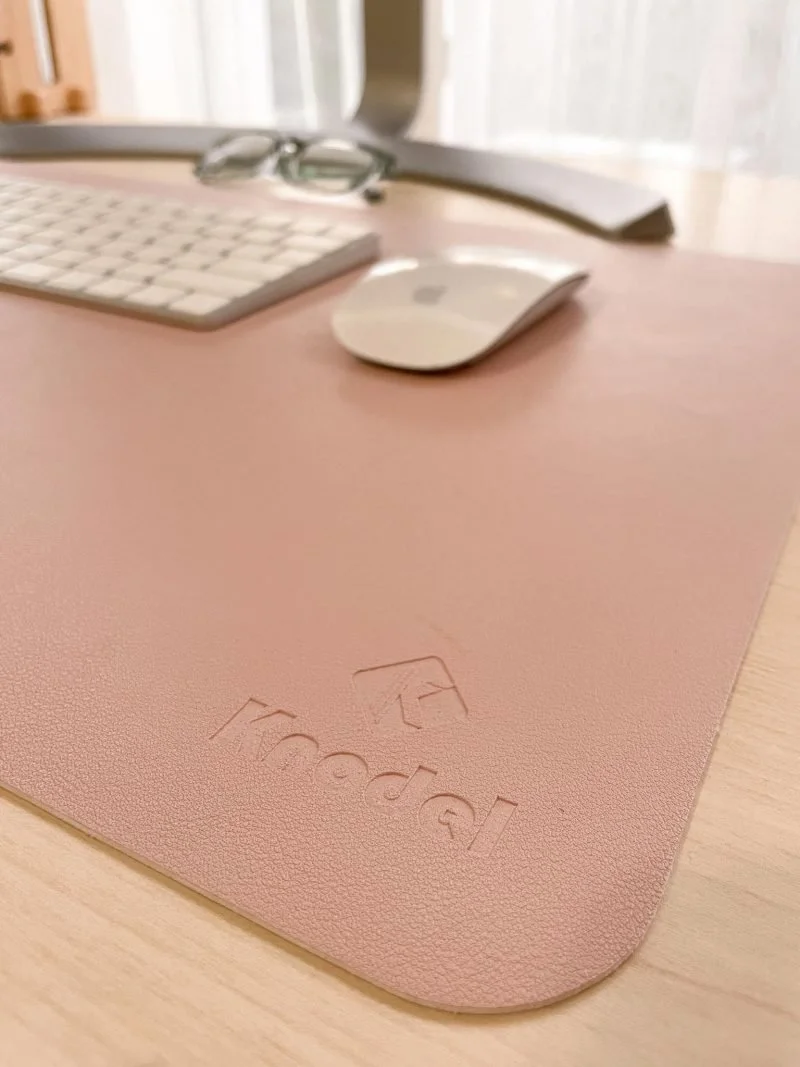
Peel and stick contact paper - desk cover (here)
4 x 30” desk legs (here)
4 x L brackets (here)
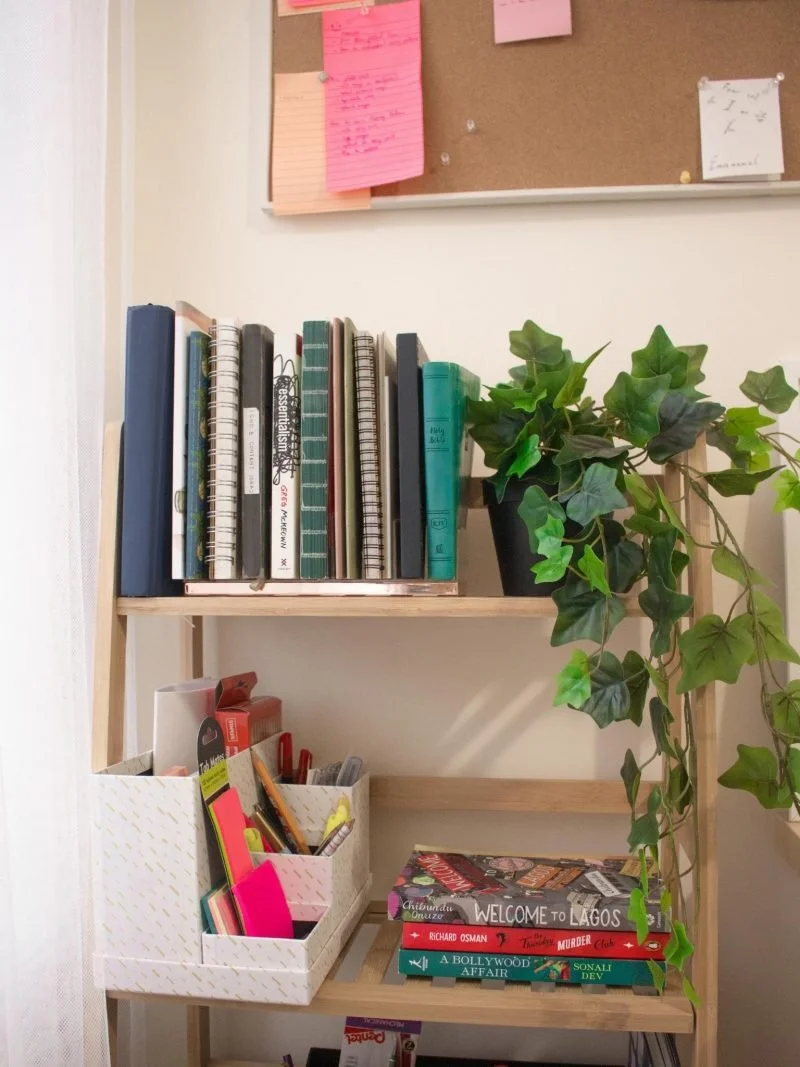
Bamboo shelf (sold out; find substitute here)
A power drill or screwdriver; just have a basic tool kit ready
Patience; because 1️⃣ the process of furniture sourcing can be exhausting, 2️⃣ you don’t want to spend more than you should because you couldn’t wait, and 3️⃣ this is Ikea - lol - you’ll need A LOT of patience.
The Mission
For most people, building furniture is a chore, but for me it’s actually a lot of fun. The hard part of this whole process was finding all these pieces because I could not find everything in one IKEA location - typical 🙄. Eventually, I picked up what I could in-person and just had the rest shipped to me.
See, this is where that patience paid off!
Like I said, the base cabinets (sektion) are from the kitchen section and come in different styles, sizes and colors. The tabletops I used were substitutes of the ones I had planned to get. I wanted a desk with oak/veneer/maple wood finish but those are not particularly cheap - ranging from $300 to $650 for a 40" long slab. I substituted with wood-looking contact paper, but if you’ve got a budget for the real thing, you should go for it.
The Build
This project took about 2 days to complete because I spread the tasks over a couple of hours in each day of the week.
DAY 1: set up the Sektion cabinets and doors
DAY 2: build the bamboo shelf
DAY 3: attached the tabletops to the base cabinets and added legs
DAY 4: set up the full work station and cable management
To make sure everything was secure, I used the L-brackets (two per cabinet) to securely hold the table tops.
I am so proud of this space and it’s been over 3 months, and I like it. What I wanted the most was to split up my workspace so that I would resist the urge to multitask and task-switch between my day job and this “job”. So far, it has been helpful.
Now that this part of the apartment is done, I can focus on the rest of my home and Ithe full reveal of that will be coming soon here and on my YouTube channel so stay tuned.
Do you have any IKEA or furniture hacks that you’re thinking of trying for yourself? Let me know in the comments if this was helpful!
And happy creating! xo
You may also like: