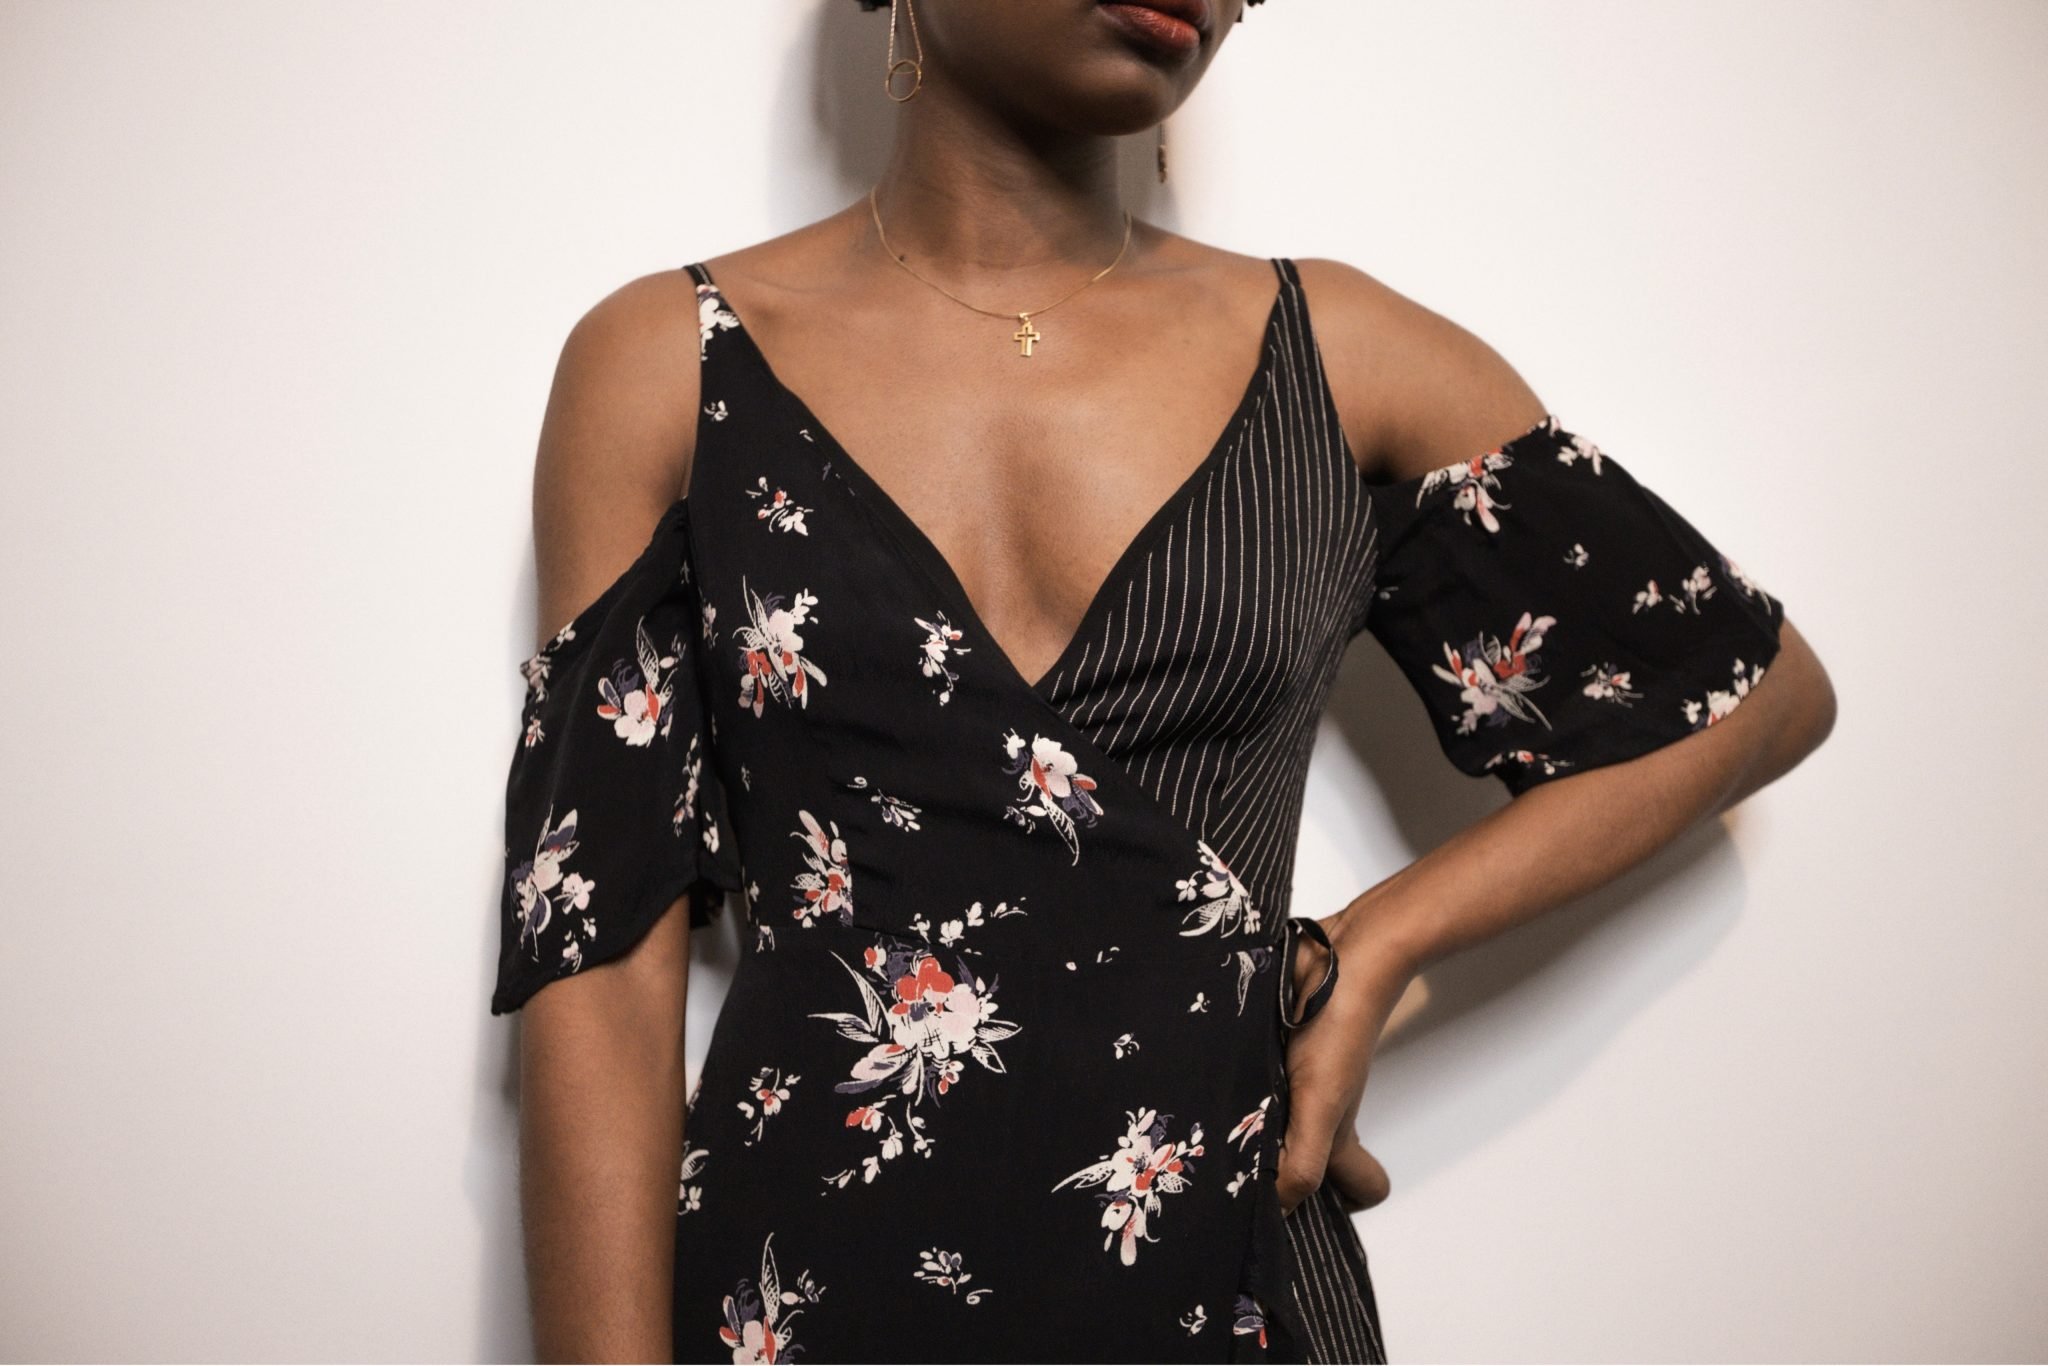
Before and After: Wrap Dress with Ruffles
Project | Wrap dress with ruffles
Pattern | N/A - before and after transformation
Measurements
Size 14 | Bust 34" | Waist 28" | Hips 38" | Height: 5'7"


If you're looking for a quick update to your wardrobe, consider upcycling/upgrading something you already have in your closet. Save some of that hard earned $$$.
Materials
To do this, you will need:
Matching thread
Fabric scissors
Ruler/dressmaker's measuring tape
sewing pins
chalk or fabric marker
iron and ironing board
Tutorial
1. Open up the wrap dress and lay it flat and align the wrap pieces over each other (overlap the pieces).

2. Mark how long you want the dress to be. Mark a curve from the hemline to where the ties of the dress are.

3. Cut off the whole hemline to create a smooth curve. This is what you should have.


4. Cut the ruffle hem from the extra piece. A long rectangular piece that is about 5" wide and 1.5 x the length of the full skirt hem (including the curved part).


5. Then sew a basic hem stitch on the ruffle piece.

6. Gather the rectangular ruffle piece and pin it to the hem of the dress.

7. Join both pieces together by sewing the ruffled piece onto the hem of the dress.

Fin!
And the "new" dress is basically ready. I hope you like it! I already love wrap dresses, so this was a no brainer for me. And I get to repurpose this old dress and keep it for a while longer. So, you can bookmark the idea for later.

For more DIYs, check here
Stay safe. x